A plunger is an essential tool for every homeowner, especially when dealing with common plumbing issues like clogged drains or toilets. Knowing how to use a plunger correctly can save you time, money, and the hassle of calling a professional plumber. In this blog post, Josh will walk you through the step-by-step process of using a plunger effectively, ensuring that you have all the knowledge you need to tackle these plumbing problems on your own.
- Choose the Right Plunger: Before you start plunging, it’s important to choose the right type of plunger for the job. There are two common types of plungers: cup plungers and flange plungers. Cup plungers are best suited for sinks and flat surfaces, while flange plungers are designed specifically for toilets. Make sure you have the appropriate plunger for the task at hand.
- Prepare the Area: Before you begin plunging, take a few moments to prepare the area. If you’re unclogging a sink, remove any debris or standing water from the sink. For toilets, clear the area around the bowl and place towels on the floor to catch any water that may splash out during the process.
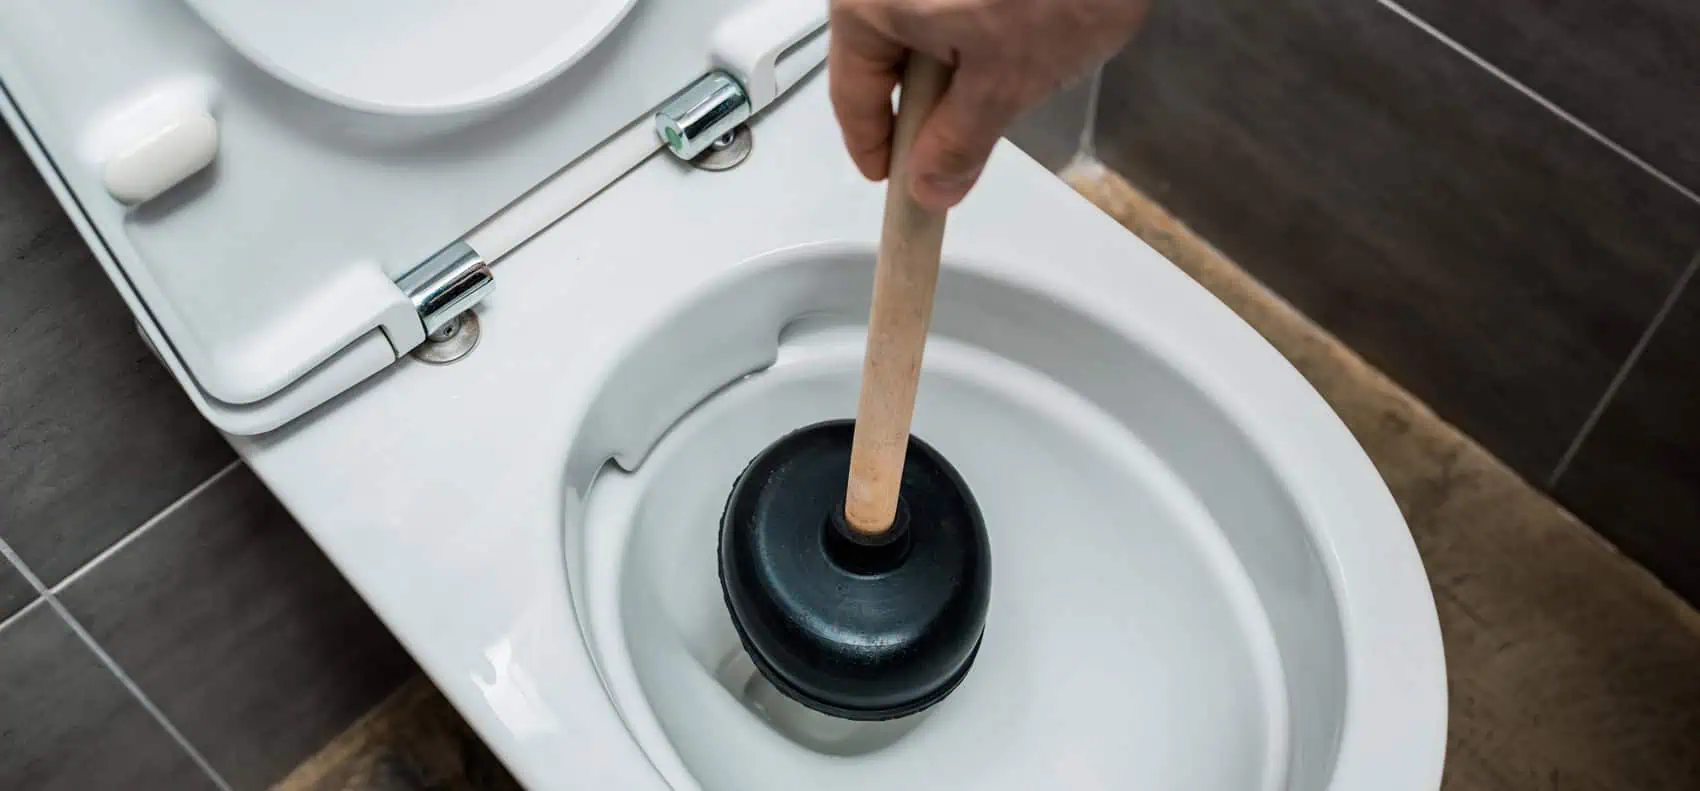
- Create a Seal: For sinks: Fill the sink with enough water to cover the plunger’s cup. Position the plunger over the drain, ensuring that the cup completely covers the drain opening. Press the plunger down firmly to create a seal. For toilets: Insert the flange end of the plunger into the toilet bowl, making sure it covers the entire opening. Press it down gently to create a seal.
- Apply Pressure: Once you have created a seal, it’s time to start plunging. Push the plunger down firmly and then quickly pull it up. Repeat this motion several times, maintaining a strong seal with each plunge. The pressure created by these movements will help dislodge the clog.
- Test the Drainage: After several plunges, test the drainage by running water or flushing the toilet. If the water flows smoothly, you have successfully cleared the clog. If not, repeat the plunging process or consider contacting a professional plumber at Grouse Plumbing.
- Clean and Store the Plunger: After using a plunger, it’s important to clean it thoroughly to prevent the spread of bacteria. Rinse the plunger with hot water and a disinfectant cleaner. Allow it to air dry completely before storing it in a clean, dry place.

By following these steps, you can handle common plumbing issues with confidence. Remember to choose the right plunger, create a proper seal, apply consistent pressure, and test the drainage.
If you encounter persistent blockages or more complex plumbing problems, don’t hesitate to contact us at Grouse Plumbing: 021 066 3802 or email us.


